矢量裁剪矢量
矢量裁剪矢量
ytkz在地理信息系统(GIS)中,根据一个矢量范围去裁剪另一个矢量范围是一种常见的操作。这个操作的基本步骤如下:
- 加载矢量数据:首先,你需要加载你的矢量数据。在Python中,你可以使用GDAL/OGR库来加载矢量数据。加载矢量数据后,你可以获取到数据的各种属性,如几何形状、属性字段等。
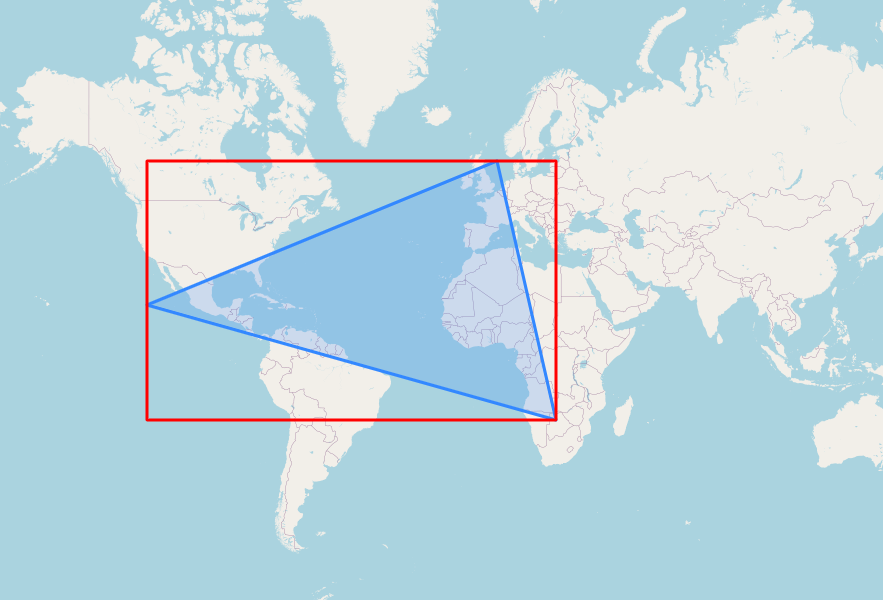
- 设置裁剪范围:设置裁剪范围,也就是你想要保留的区域。你可以根据你的需求来设置裁剪范围,例如,你可能只对研究区域内的数据感兴趣。
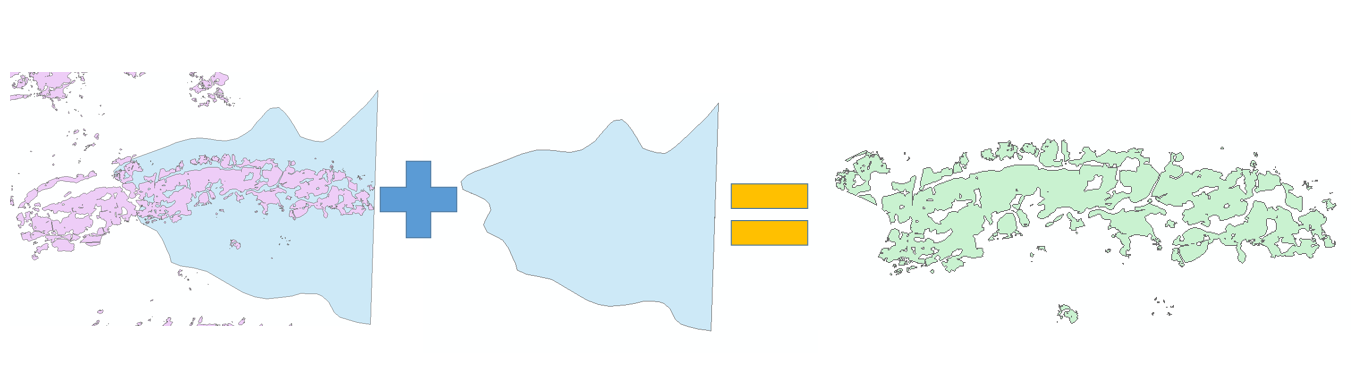
- 裁剪数据:使用裁剪范围去裁剪你的矢量数据。在这个步骤中,所有在裁剪范围外的数据都会被删除。
- 保存结果:裁剪完成后,你可以保存你的结果。你可以选择保存为各种格式的矢量数据文件,如Shapefile、GeoJSON等。
代码
from osgeo import gdal, ogr

# 打开裁剪范围矢量文件
clip_shp = ogr.Open('clip_shapefile.shp')
clip_layer = clip_shp.GetLayer()

# 打开被裁剪的矢量文件
target_shp = ogr.Open('target_shapefile.shp', 1)  # 1表示可写模式
target_layer = target_shp.GetLayer()

# 创建结果矢量文件
driver = ogr.GetDriverByName('ESRI Shapefile')
output_shp = driver.CreateDataSource('output_shapefile.shp')
output_layer = output_shp.CreateLayer('output', target_layer.GetSpatialRef())

# 添加属性字段
layer_def = target_layer.GetLayerDefn()
for i in range(layer_def.GetFieldCount()):
    field_def = layer_def.GetFieldDefn(i)
    output_layer.CreateField(field_def)

# 裁剪
for target_feature in target_layer:
    geom = target_feature.GetGeometryRef()
    for clip_feature in clip_layer:
        clip_geom = clip_feature.GetGeometryRef()
        if geom.Intersect(clip_geom):
            output_feature = ogr.Feature(output_layer.GetLayerDefn())
            output_feature.SetGeometry(geom.Intersection(clip_geom))
            for i in range(layer_def.GetFieldCount()):
                output_feature.SetField(layer_def.GetFieldDefn(i).GetNameRef(), target_feature.GetField(i))
            output_layer.CreateFeature(output_feature)
            output_feature.Destroy()
改写代码
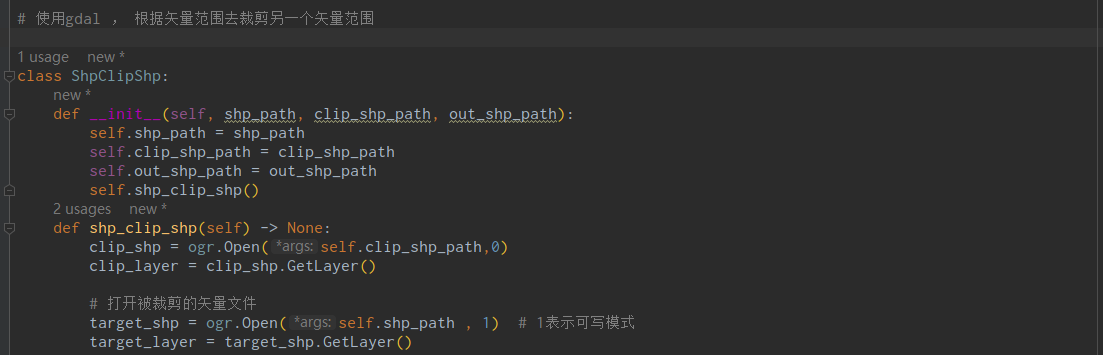
进一步把以上代码改写为类,方便使用和维护。
from osgeo import gdal, ogr
# 使用gdal , 根据矢量范围去裁剪另一个矢量范围
class ShpClipShp:
def __init__(self, shp_path, clip_shp_path, out_shp_path):
self.shp_path = shp_path
self.clip_shp_path = clip_shp_path
self.out_shp_path = out_shp_path
self.shp_clip_shp()
def shp_clip_shp(self) -> None:
clip_shp = ogr.Open(self.clip_shp_path,0)
clip_layer = clip_shp.GetLayer()
# 打开被裁剪的矢量文件
target_shp = ogr.Open(self.shp_path , 1) # 1表示可写模式
target_layer = target_shp.GetLayer()
# 创建结果矢量文件
driver = ogr.GetDriverByName('ESRI Shapefile')
output_shp = driver.CreateDataSource(self.out_shp_path)
output_layer = output_shp.CreateLayer('output', target_layer.GetSpatialRef())
# 添加属性字段
layer_def = target_layer.GetLayerDefn()
for i in range(layer_def.GetFieldCount()):
field_def = layer_def.GetFieldDefn(i)
output_layer.CreateField(field_def)
# 裁剪
for target_feature in target_layer:
geom = target_feature.GetGeometryRef()
for clip_feature in clip_layer:
clip_geom = clip_feature.GetGeometryRef()
if geom.Intersect(clip_geom):
output_feature = ogr.Feature(output_layer.GetLayerDefn())
output_feature.SetGeometry(geom.Intersection(clip_geom))
for i in range(layer_def.GetFieldCount()):
output_feature.SetField(layer_def.GetFieldDefn(i).GetNameRef(), target_feature.GetField(i))
output_layer.CreateFeature(output_feature)
output_feature.Destroy()
a = 0
if __name__ == '__main__':
shp_path =r'c7.shp'
clip_shp_path = r'部分范围.shp'
out_shp_path = r'部分范围clip.shp'
A = ShpClipShp(shp_path, clip_shp_path, out_shp_path)
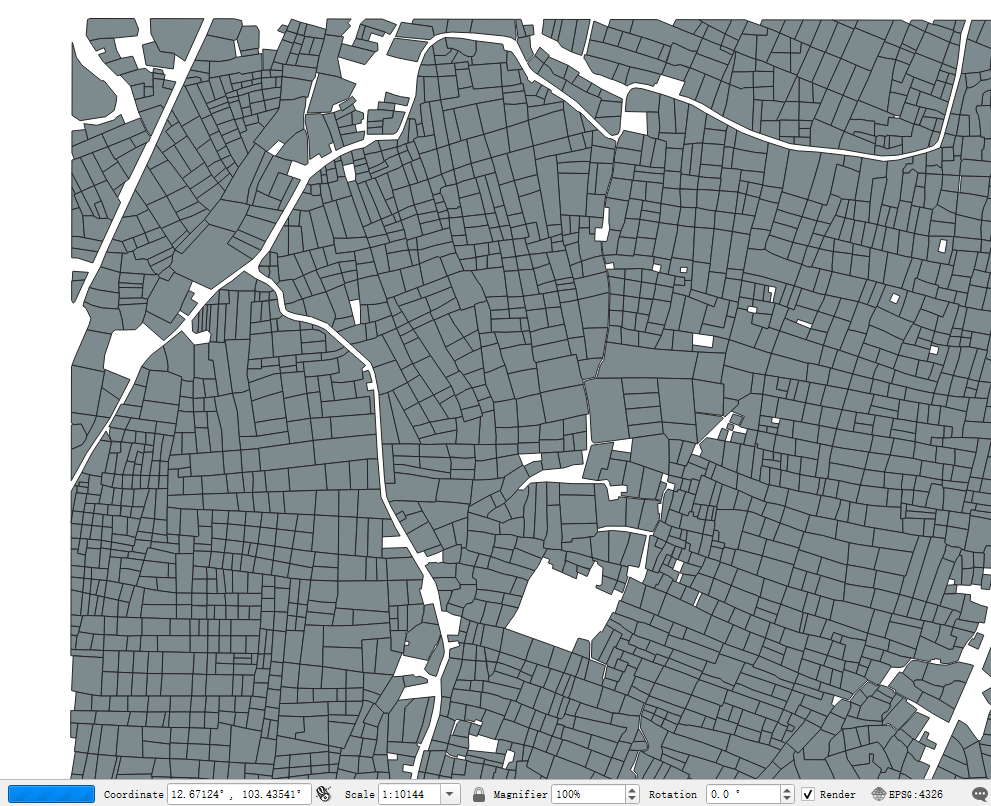
a = A.shp_clip_shp()结果示例
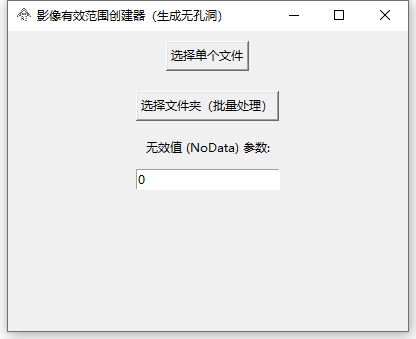
打包
以上代码是使用python编写。改写输入参数形式。
shp_path = input('待裁剪的矢量:')
clip_shp_path = input('裁剪范围的矢量:')
out_shp_path = input('保存的矢量:')
使用以下命令可以将程序打包为可执行文件,方便使用。
pyinstaller -i favicon.png -F shp_clip_shp.py shp_clip_shp.exe下载地址
https://www.alipan.com/s/XNwdfmPp5Ec 提取码: z9x3