安装SAM2的步骤
安装SAM2的步骤
ytkz最新的SAM2分割大模型(Segment Anything Model 2)是由Meta开发的一个先进的图像和视频分割模型。相比于第一代SAM模型,SAM2在多个方面实现了显著的改进。
下面记录一下我是怎么安装sam的,在这个过程中遇到的问题及解决方案。我已经安装好了conda。
要求
系统安装有 Python ≥ 3.10、PyTorch ≥ 2.3.1 和与PyTorch 安装相匹配的torchvision。
步骤
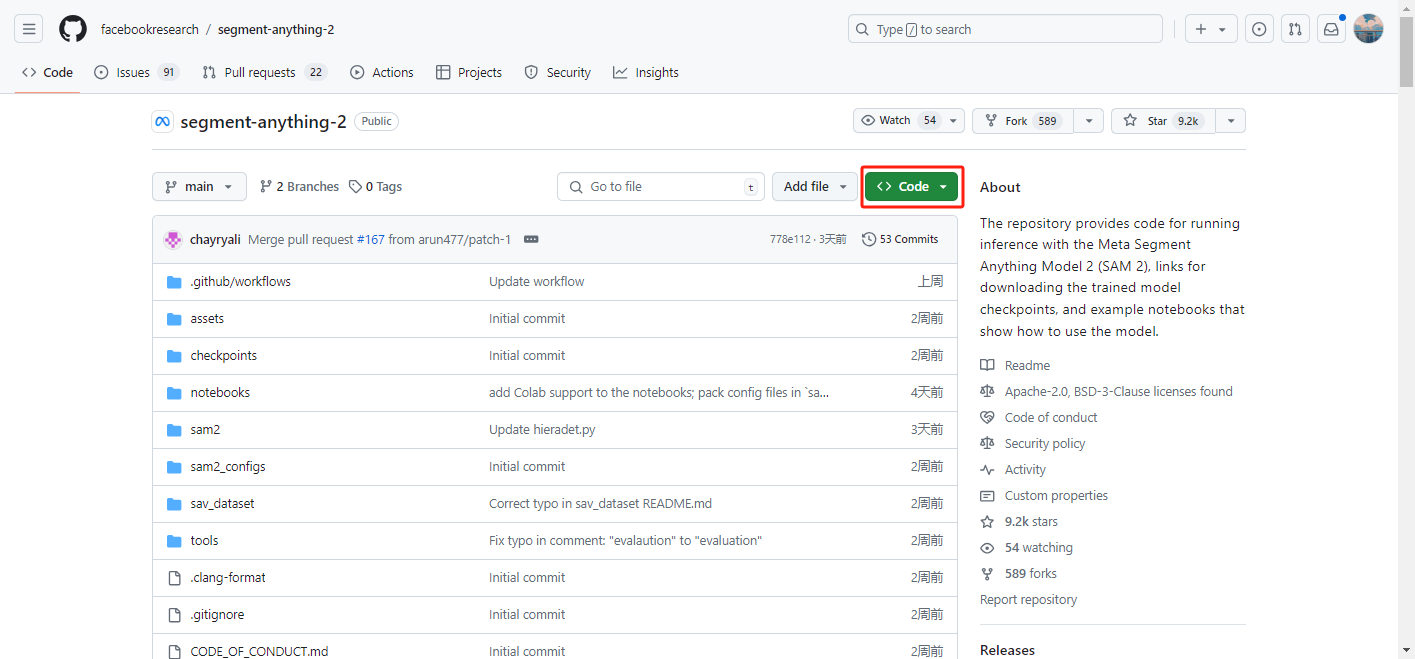
下载sam2的文件,要么是git下载,要么在github下载zip
我是直接在github下载的,因为这台电脑没有安装git,也懒得安装。
下载好之后,对这个压缩进行解压,激活项目环境。
使用conda建立一个python版本大于3.10的虚拟环境。sam2要求python版本大于等于3.10.0
不然会报错:
ERROR: Package 'sam-2' requires a different Python: 3.9.19 not in '>=3.10.0'所以我们建立一个3.11版本的python虚拟环境就好。
conda create --name sam2 python=3.11完成虚拟环境的搭建后,此时,进入新创建的虚拟环境,运行以下语句:
conda activate sam2不要关闭这个conda命令行,继续下一步。
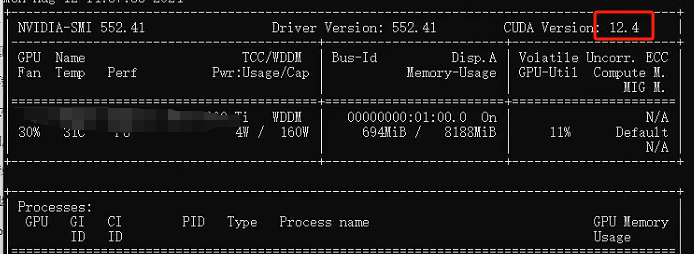
安装torch。在命令行输入nvidia-smi
查看你的电脑cuda的版本是什么型号。显示如下:
我的是12.4版本cuda。
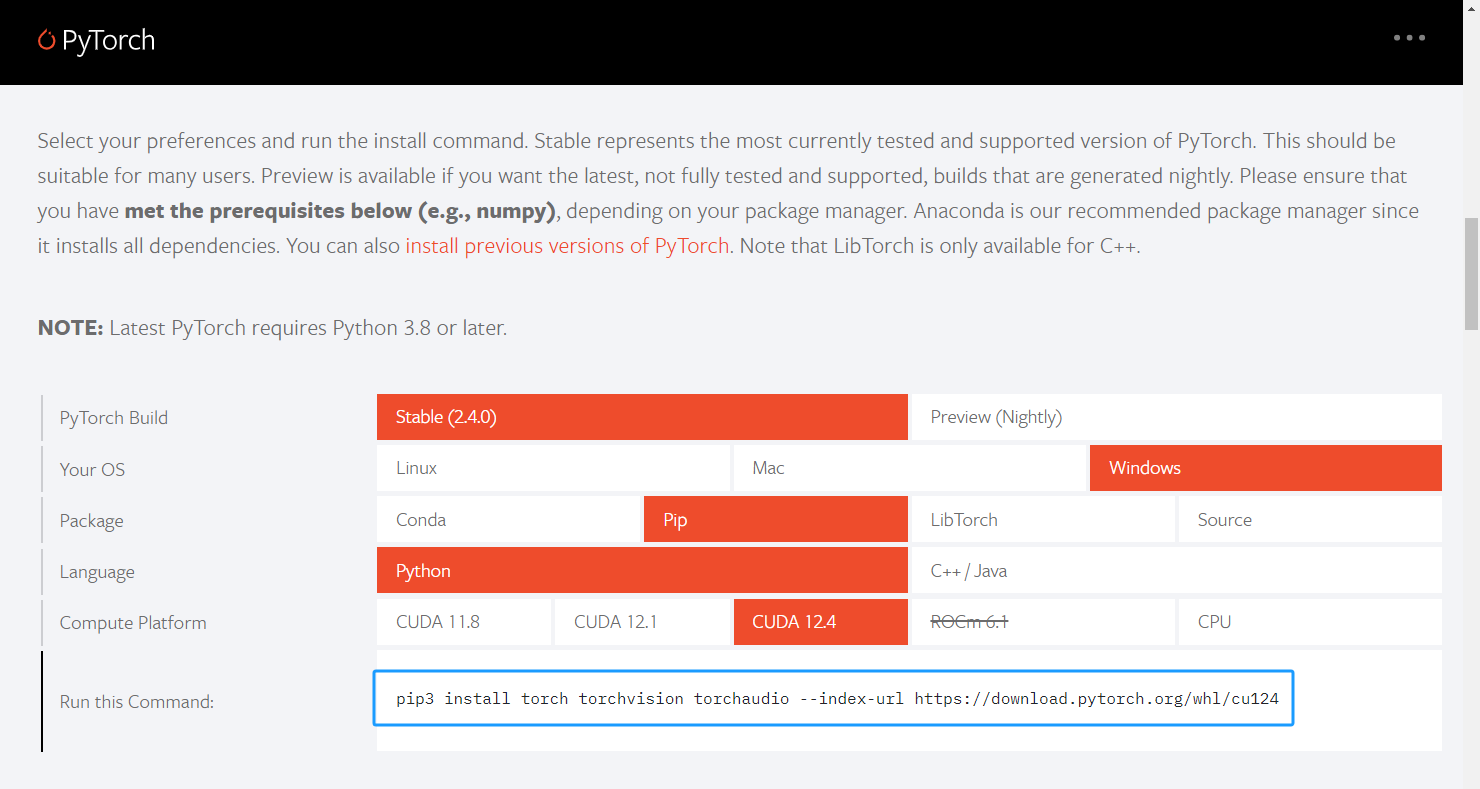
然后去torch官网 https://pytorch.org/ 查看我们应该下载哪个版本的torch。
进入官网后,往下拉,如下图
图中显示这条安装torch的语句,
pip3 install torch torchvision torchaudio --index-url https://download.pytorch.org/whl/cu124但是,我们一般是在国内,使用国内的镜像源得到更快的下载速度。我们使用华为源提高安装速度。
运行以下语句:
pip3 install torch==2.3.1 torchvision torchaudio --index-url https://download.pytorch.org/whl/cu124 -i https://repo.huaweicloud.com/repository/pypi/simple some-package测试一下是否成功安装torch。
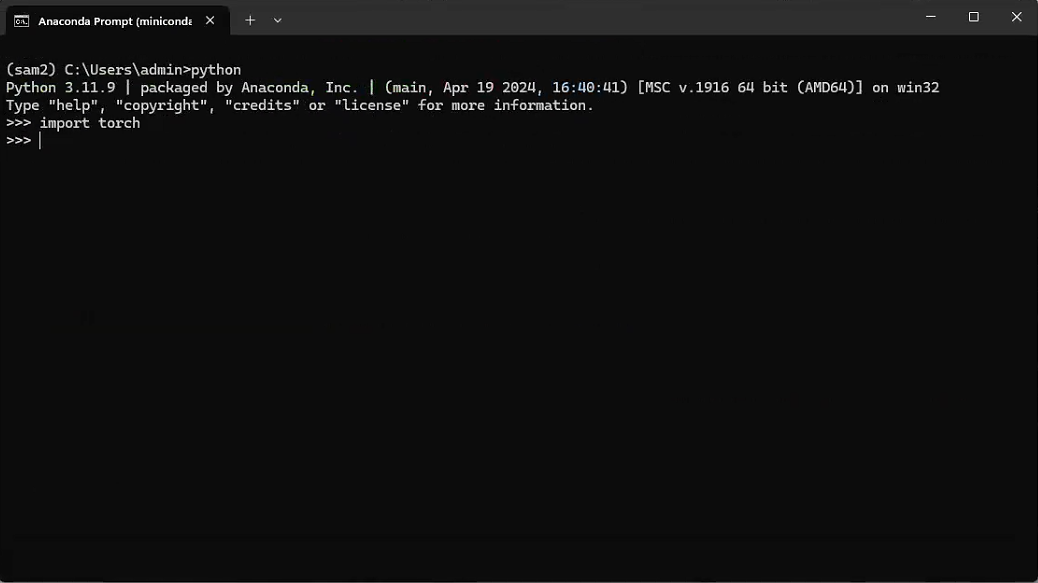
输入python,进入python环境,再输入import torch
完成torch安装。
在conda命令行,进入你的解压后的Sam2所在的文件夹。格式如下
cd/d 你的解压后的Sam2所在的文件夹假设我的解压后的Sam2所在的文件夹是D:\code\sam2\segment-anything-2
则这条语句变为:
cd/d D:\code\sam2\segment-anything-2先输入,防止报错:
set PYTHONUTF8=1 再输入,安装sam2
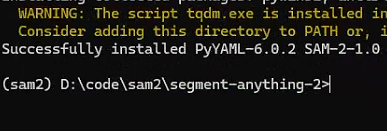
pip install --no-build-isolation -e .编写一个python,调用sam2进行图像分割。
import torch
import numpy as np
from PIL import Image
import matplotlib.pyplot as plt
from sam2.build_sam import build_sam2
from sam2.automatic_mask_generator import SAM2AutomaticMaskGenerator


# use bfloat16 for the entire notebook
torch.autocast(device_type="cuda", dtype=torch.bfloat16).__enter__()

if torch.cuda.get_device_properties(0).major >= 8:
    # turn on tfloat32 for Ampere GPUs (https://pytorch.org/docs/stable/notes/cuda.html#tensorfloat-32-tf32-on-ampere-devices)
    torch.backends.cuda.matmul.allow_tf32 = True
    torch.backends.cudnn.allow_tf32 = True


def show_anns(anns, borders=True):
    if len(anns) == 0:
        return
    sorted_anns = sorted(anns, key=(lambda x: x['area']), reverse=True)
    ax = plt.gca()
    ax.set_autoscale_on(False)

    img = np.ones((sorted_anns[0]['segmentation'].shape[0], sorted_anns[0]['segmentation'].shape[1], 4))
    img[:,:,3] = 0
    for ann in sorted_anns:
        m = ann['segmentation']
        color_mask = np.concatenate([np.random.random(3), [0.5]])
        img[m] = color_mask
        if borders:
            import cv2
            contours, _ = cv2.findContours(m.astype(np.uint8),cv2.RETR_EXTERNAL, cv2.CHAIN_APPROX_NONE)
            # Try to smooth contours
            contours = [cv2.approxPolyDP(contour, epsilon=0.01, closed=True) for contour in contours]
            cv2.drawContours(img, contours, -1, (0,0,1,0.4), thickness=1)

    ax.imshow(img)

checkpoint = "./checkpoints/sam2_hiera_large.pt"
model_cfg = "sam2_hiera_l.yaml"
sam2 = build_sam2(model_cfg, sam2_checkpoint, device ='cuda', apply_postprocessing=False)

mask_generator = SAM2AutomaticMaskGenerator(sam2)
imagefile = r'1.jpg'
image = Image.open(imagefile)
image = np.array(image.convert("RGB"))

masks = mask_generator.generate(image)
plt.figure(figsize=(20,20))
plt.imshow(image)
show_anns(masks)
plt.axis('off')
plt.show()
