带标注KML的批量生成,代码已开源,工具免费下载
带标注KML的批量生成,代码已开源,工具免费下载
ytkz这个号分享的、开源的代码,基本上是可以直接运行的,也是免费的。
为什么是免费的?主要是现在是在为爱发电,如果对你有帮助,点个赞不过分吧。
回到今天的主题,之前写过shp文件转换为KML文件,里面附上了代码。代码的实现仅依靠OGR库。而KML是基于xml格式,当时是用字符串拼接的方式进行构建XML。
当时记得那篇博客发出去后,有老哥建议:可以用标准的XML库来构建KML。
这次将重构之前的代码,并且将这个功能写到rstool小工具里。
结果展示
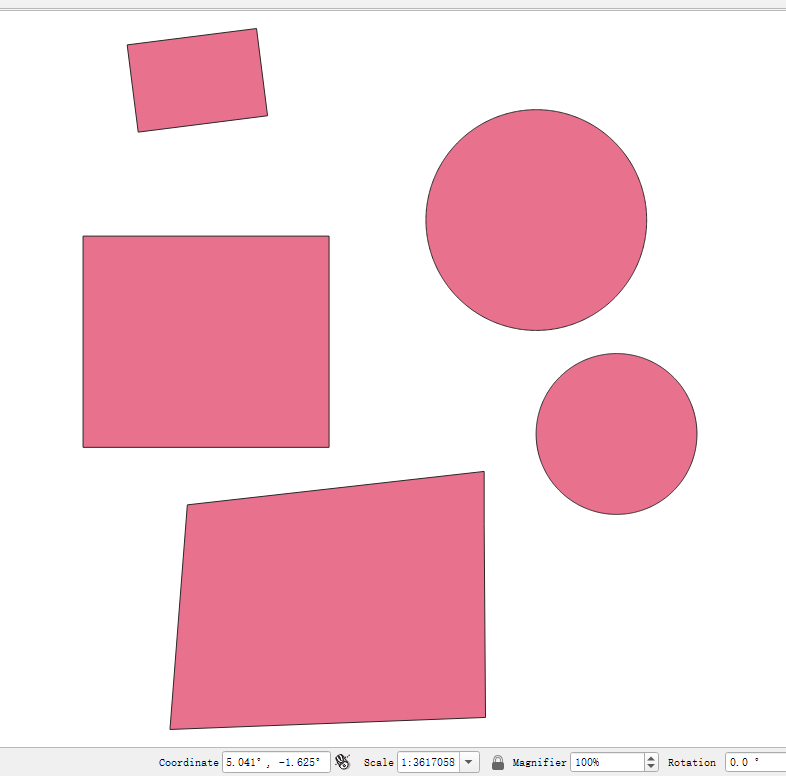
输入文件为shp格式,其在QGIS上可视化如下:
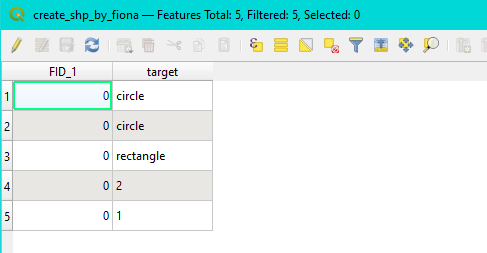
shp属性表如下:
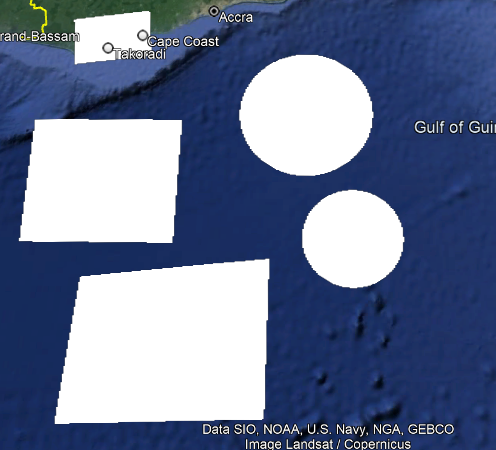
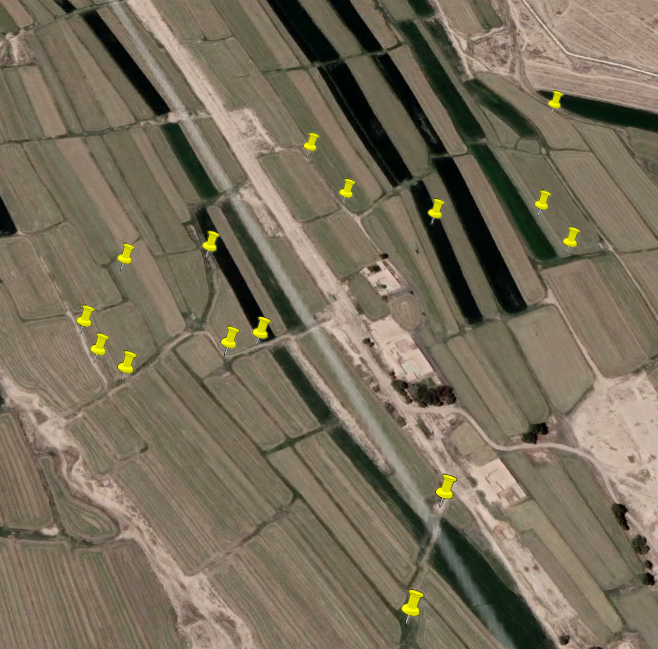
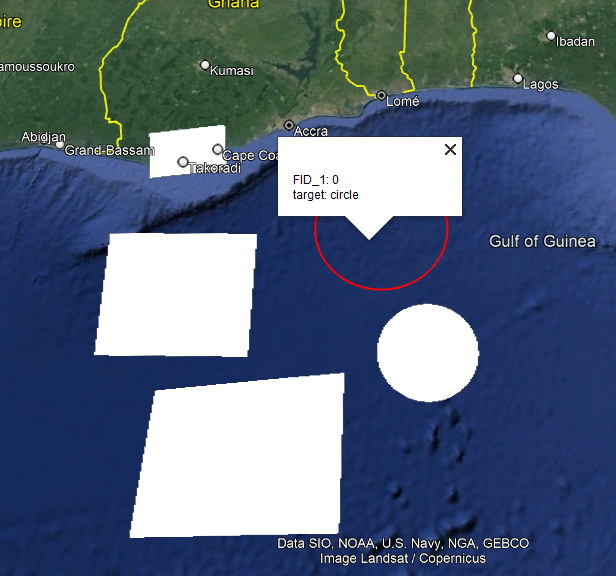
输出文件为KML格式,其在google earth 可视化如下:
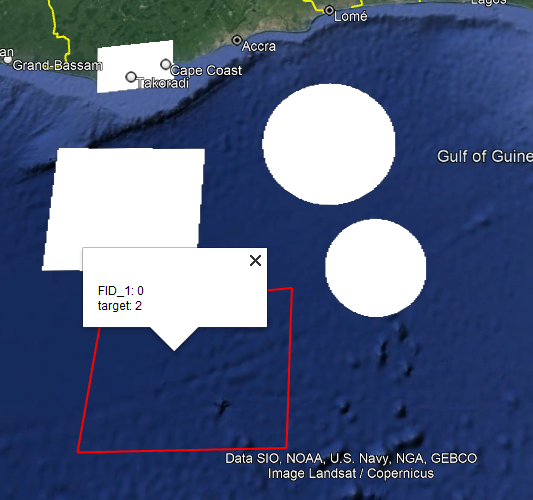
查看标注信息,需要点击对应的图形,如下:
生成带标注的KML的代码
import os
import xml.etree.ElementTree as ET
from osgeo import ogr


def convert_to_kml(shapefile, outpath):
    # 打开 Shapefile
    ds = ogr.Open(shapefile)
    layer = ds.GetLayer(0)
    layer_defn = layer.GetLayerDefn()

    # 获取属性字段名称
    attribute_names = [layer_defn.GetFieldDefn(i).GetName() for i in range(layer_defn.GetFieldCount())]

    # 创建 XML 文档
    root = ET.Element("kml", xmlns="http://www.opengis.net/kml/2.2", xmlns_atom="http://www.w3.org/2005/Atom",
                      xmlns_gx="http://www.google.com/kml/ext/2.2", xmlns_kml="http://www.opengis.net/kml/2.2")
    doc = ET.SubElement(root, "Document")

    # 添加文档标题
    name = ET.SubElement(doc, "name")
    name.text = os.path.basename(shapefile)

    # 添加样式
    style = ET.SubElement(doc, "Style", id="s_ylw-pushpin_hl")
    icon_style = ET.SubElement(style, "IconStyle")
    scale = ET.SubElement(icon_style, "scale")
    scale.text = "1.3"
    icon = ET.SubElement(icon_style, "Icon")
    href = ET.SubElement(icon, "href")
    href.text = "http://maps.google.com/mapfiles/kml/pushpin/ylw-pushpin.png"
    hot_spot = ET.SubElement(icon_style, "hotSpot", x="20", y="2", xunits="pixels", yunits="pixels")
    line_style = ET.SubElement(style, "LineStyle")
    color = ET.SubElement(line_style, "color")
    color.text = "ff0000ff"
    width = ET.SubElement(line_style, "width")
    width.text = "2"
    poly_style = ET.SubElement(style, "PolyStyle")
    fill = ET.SubElement(poly_style, "fill")
    fill.text = "0"

    style_map = ET.SubElement(doc, "StyleMap", id="m_ylw-pushpin")
    pair_normal = ET.SubElement(style_map, "Pair")
    key_normal = ET.SubElement(pair_normal, "key")
    key_normal.text = "normal"
    style_url_normal = ET.SubElement(pair_normal, "styleUrl")
    style_url_normal.text = "#s_ylw-pushpin"
    pair_highlight = ET.SubElement(style_map, "Pair")
    key_highlight = ET.SubElement(pair_highlight, "key")
    key_highlight.text = "highlight"
    style_url_highlight = ET.SubElement(pair_highlight, "styleUrl")
    style_url_highlight.text = "#s_ylw-pushpin_hl"

    style = ET.SubElement(doc, "Style", id="s_ylw-pushpin")
    icon_style = ET.SubElement(style, "IconStyle")
    scale = ET.SubElement(icon_style, "scale")
    scale.text = "1.1"
    icon = ET.SubElement(icon_style, "Icon")
    href = ET.SubElement(icon, "href")
    href.text = "http://maps.google.com/mapfiles/kml/pushpin/ylw-pushpin.png"
    hot_spot = ET.SubElement(icon_style, "hotSpot", x="20", y="2", xunits="pixels", yunits="pixels")

    # 添加 Placemark 元素
    i = 1
    for feature in layer:
        placemark = ET.SubElement(doc, "Placemark", id=f"ID_{i}")
        name = ET.SubElement(placemark, "name")
        name.text = feature.GetField(attribute_names[0])  # 假设第一个字段作为名称

        description = ET.SubElement(placemark, "description")
        description.text = "\n".join([f"{attr}: {feature.GetField(attr)}" for attr in attribute_names])

        style_url = ET.SubElement(placemark, "styleUrl")
        style_url.text = "#m_ylw-pushpin"

        geometry = feature.GetGeometryRef()
        placemark.append(ET.fromstring(geometry.ExportToKML()))
        i += 1

    # 创建 KML 文件
    filename = os.path.basename(shapefile).split('.')[0]
    if not os.path.exists(outpath):
        os.makedirs(outpath)

    out_file_path = os.path.join(outpath, f"{filename}.kml")
    tree = ET.ElementTree(root)
    tree.write(out_file_path, encoding="UTF-8", xml_declaration=True)

    print(f"KML 文件已保存至:{out_file_path}")


if __name__ == '__main__':
    shapefile = r'D:\temp\create_shp_by_fiona.shp'
    outpath = r'D:\temp\kml'
    # shapefile = input('输入shp文件:')
    # outpath = input('输入保存路径:')
    convert_to_kml(shapefile, outpath)
    input('已完成,输入任意键退出!')
界面
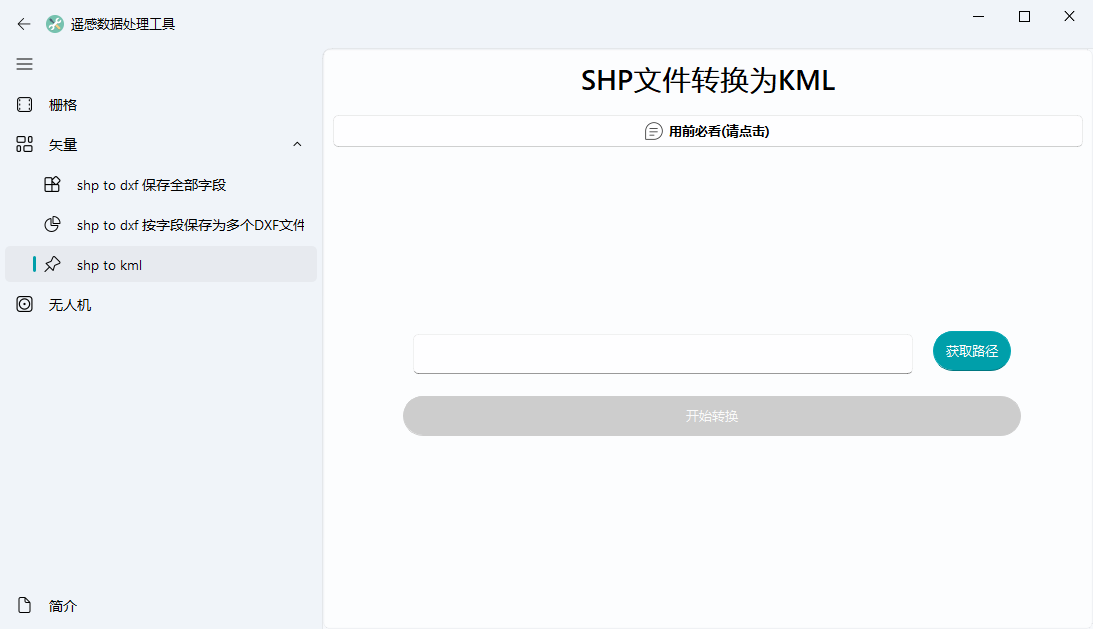
之前写了一个shp to dxf 的rstool界面,本次将把shp to kml打包进去rstool软件。
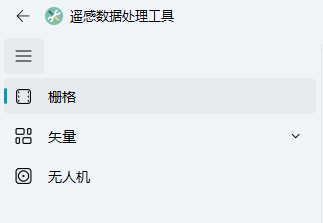
我把rstool软件的菜单改了一下,如下:
现在只有矢量这个菜单有内容的,其他的两个菜单暂时没有写界面、代码。
对了,如果你使用这个小工具的时候出现bug,请在下面留言。
